InnoFit
from 1,500,000 KRW* VAT Not Included
This rhinoplasty procedure uses a custom-made Innofit implant, created with a 3D printer after analyzing the individual’s nasal structure using 3D CT imaging. Unlike conventional implants that are manually carved, it is designed to ensure close adaptation to the nasal tissues, and a customized guide splint for postoperative use is also produced.
Surgery Overview
This rhinoplasty procedure uses an Implant custom-made with a 3D printer after precisely analyzing each individual's nasal structure using 3D-CT imaging. Unlike standard Implants that are manually carved, it is manufactured in advance to ensure close adherence to the nasal tissue, reducing lifting. A custom guide splint needed after surgery is also provided.

Recommended For
· Those who want to design a Custom Implant in their desired line · Those who want a natural nasal line that looks like their own nose · Those who want customized rhinoplasty with reduced concerns about side effects · Those who want to personally try designing their desired nose shape · Those who want to naturally improve a Hump nose, low nose, etc. with a customized Implant

A custom Implant made based on 3D-CT image analysis for a perfect fit to your nose without concerns about side effects! Unlike conventional methods of manually carving Implants, each patient's anatomical structure is precisely analyzed and the Implant is manufactured in advance.
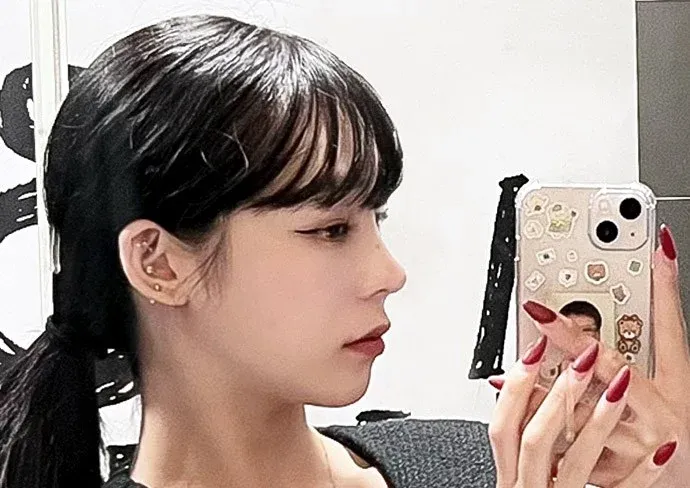
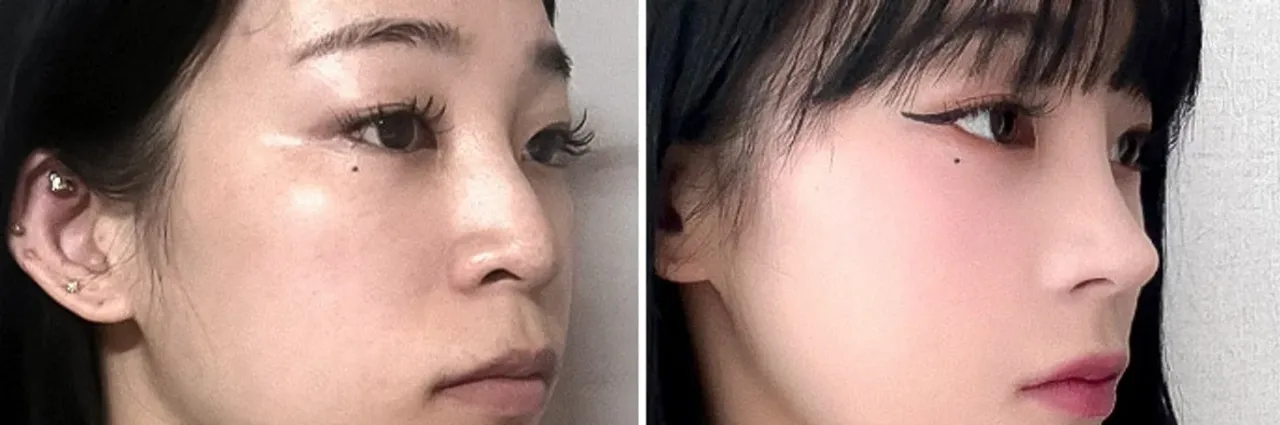
Before surgery → 3 months after surgery (left: before surgery / right: after surgery)
Advantages of View 3D Custom Rhinoplasty
Point 1. A one-of-a-kind custom Implant
Custom-made just for you, it fits closely against the Face without lifting between the Implant and nasal tissue.

Point 2. A perfect fit from every angle
A custom-made Implant creates a natural, harmonious nasal line from every angle.
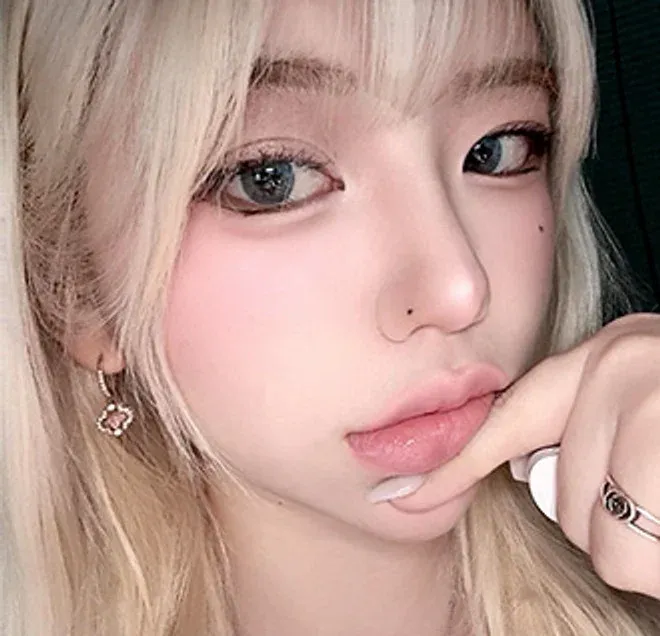
Point 3. Reduced risk of side effects such as inflammation and Capsular contracture
By preventing lifting, it reduces the risk of side effects that may occur after surgery, including inflammation and Capsular contracture.

How is it different from conventional rhinoplasty?
Standard Implant
· Standardized, mass-produced product · Risk of side effects such as bending, lifting, and visibility · Longer surgery time due to carving
View 3D Custom Rhinoplasty
· One-to-one custom Implant production · Minimizes side effects through stable adherence · Natural nasal lines for any nose type
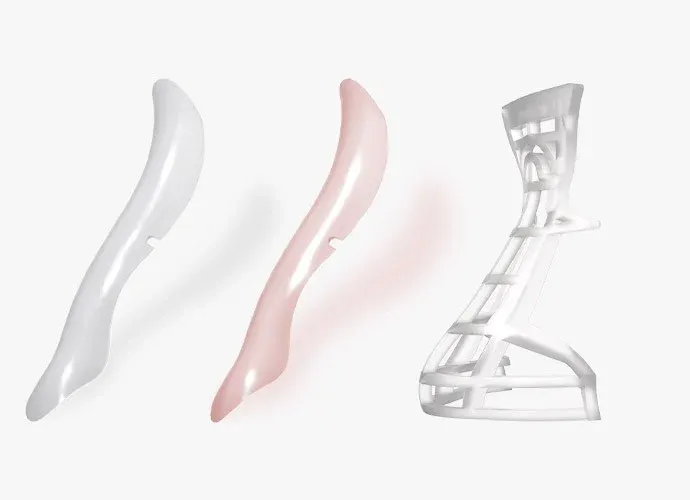
Custom Design with a 3D Molding Program
Using a 3D molding program, skin is overlaid on the bone and Cartilage to predict the postoperative appearance in advance, and measurements such as the width, length, and height of the nose are used to design the desired nose shape. The surgical plan is finalized based on the virtual surgery result, and surgery is performed using a custom-made Implant.
Since 2005, Proven Expertise Through Reviews
Since opening in 2005, we have corrected every type of nose shape properly from the inside out through experience with a wide range of cases, creating natural yet beautiful nasal lines.
Surgical Process
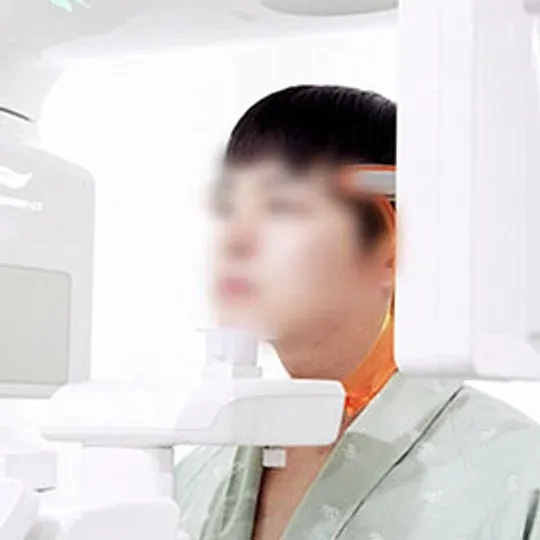
STEP 1. 3D-CT Scan
The condition is precisely analyzed, including the internal nasal tissues.
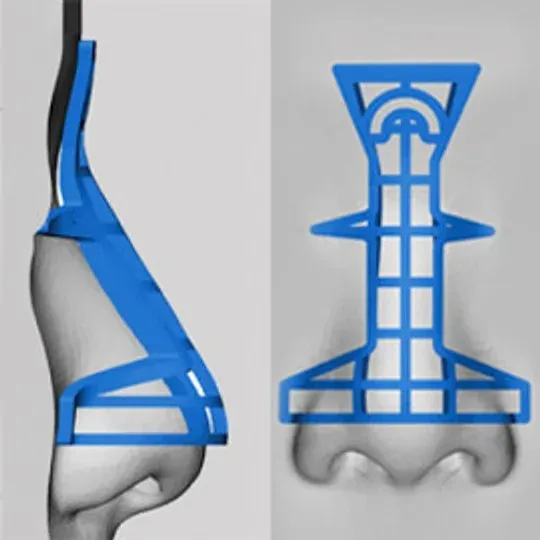
STEP 2. Establish Surgical Plan
A surgical plan is established through an in-depth consultation with the attending physician.
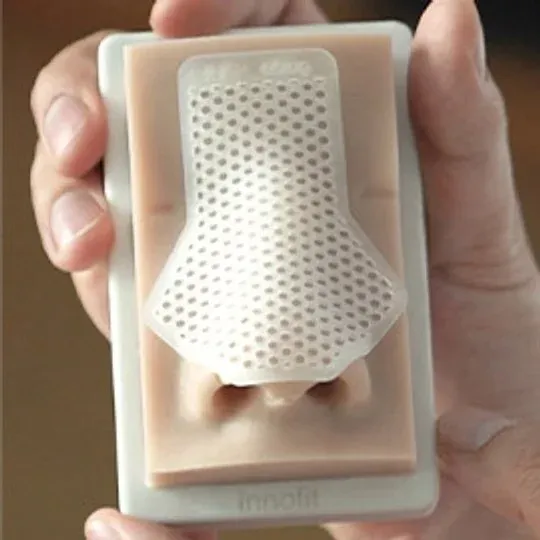
STEP 3. Custom Implant Production
The nasal Implant is customized and produced with a 3D printer.
STEP 4. Surgery
Surgery is performed using the custom-made Implant.

STEP 5. Intensive Care
The attending physician checks progress regularly and provides individualized aftercare.
A Spectrum of Nasal Lines for Every Nose
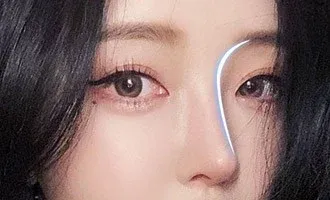
Straight Line
A high, defined line that runs straight from the nasal bridge to the Nasal Tip without curves, creating a chic and sophisticated look.
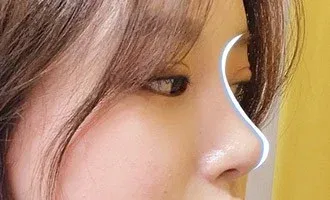
Semi-Curved Line
A line that curves from the starting point of the nose to the Nasal Tip, creating a more natural and softer impression than the traditional curved line.
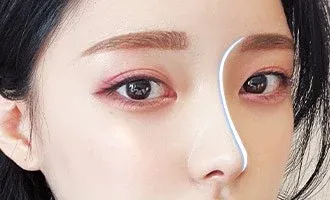
Straight-Semi-Curved Line
This line is closer to straight than the semi-curved line and has a gentle contour, creating a soft and elegant impression.
Real Selfie Before-and-After Photos
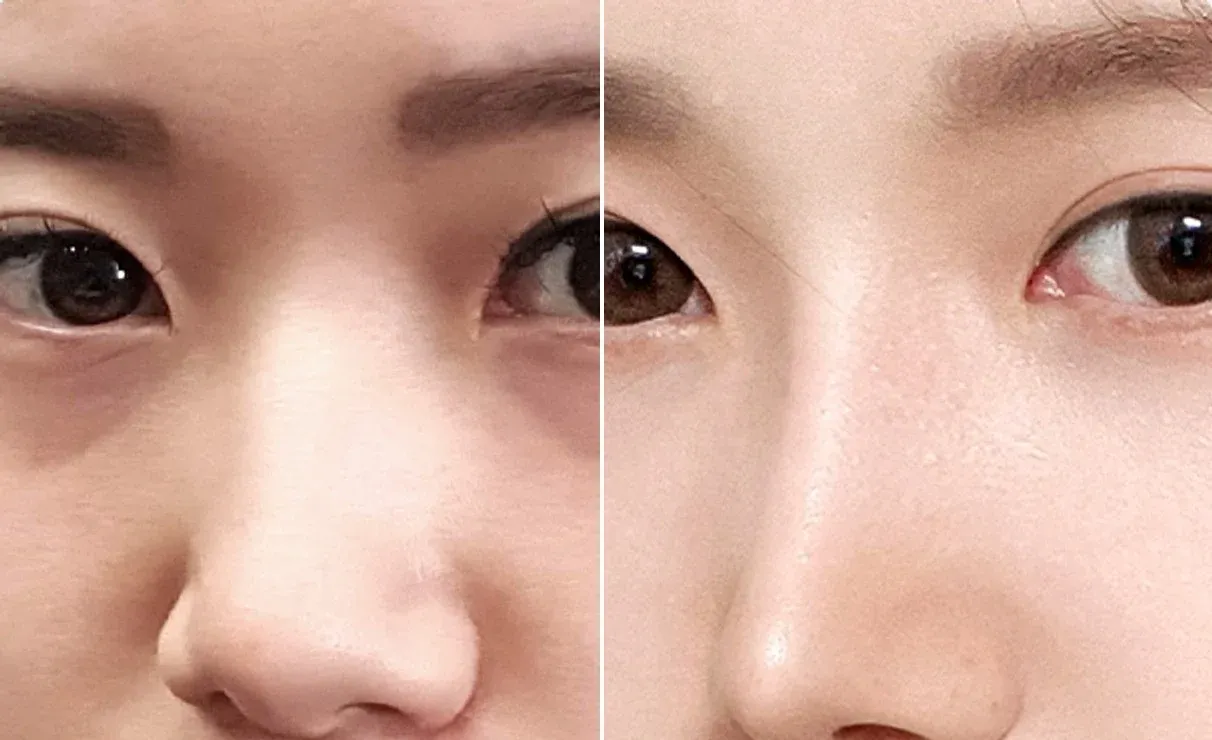
Before surgery → 6 months after surgery
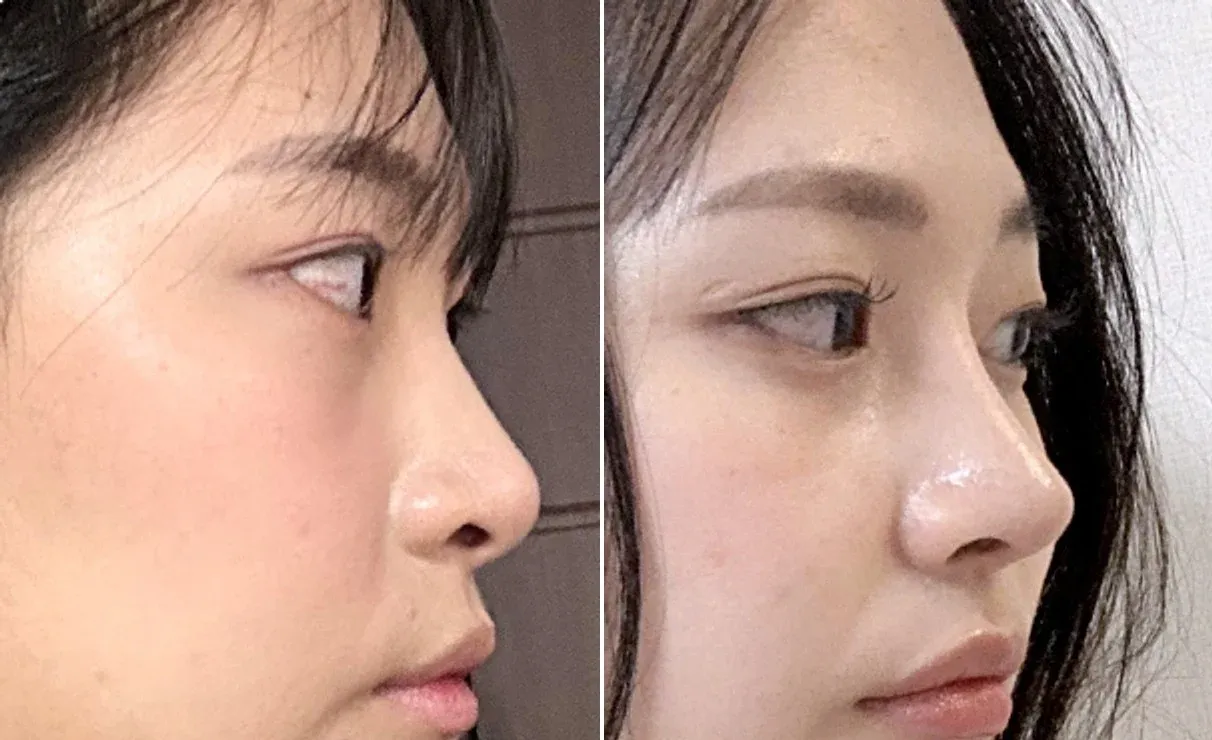
Before surgery → 4 months after surgery
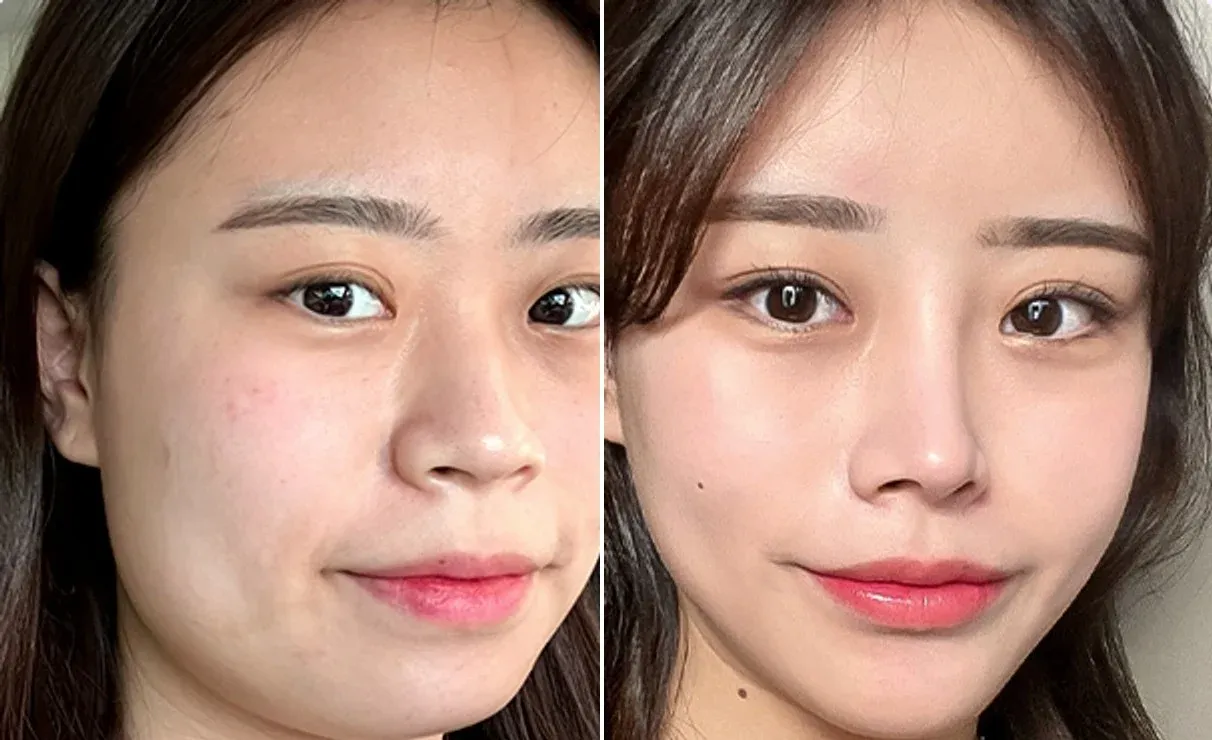
Before surgery → 7 months after surgery
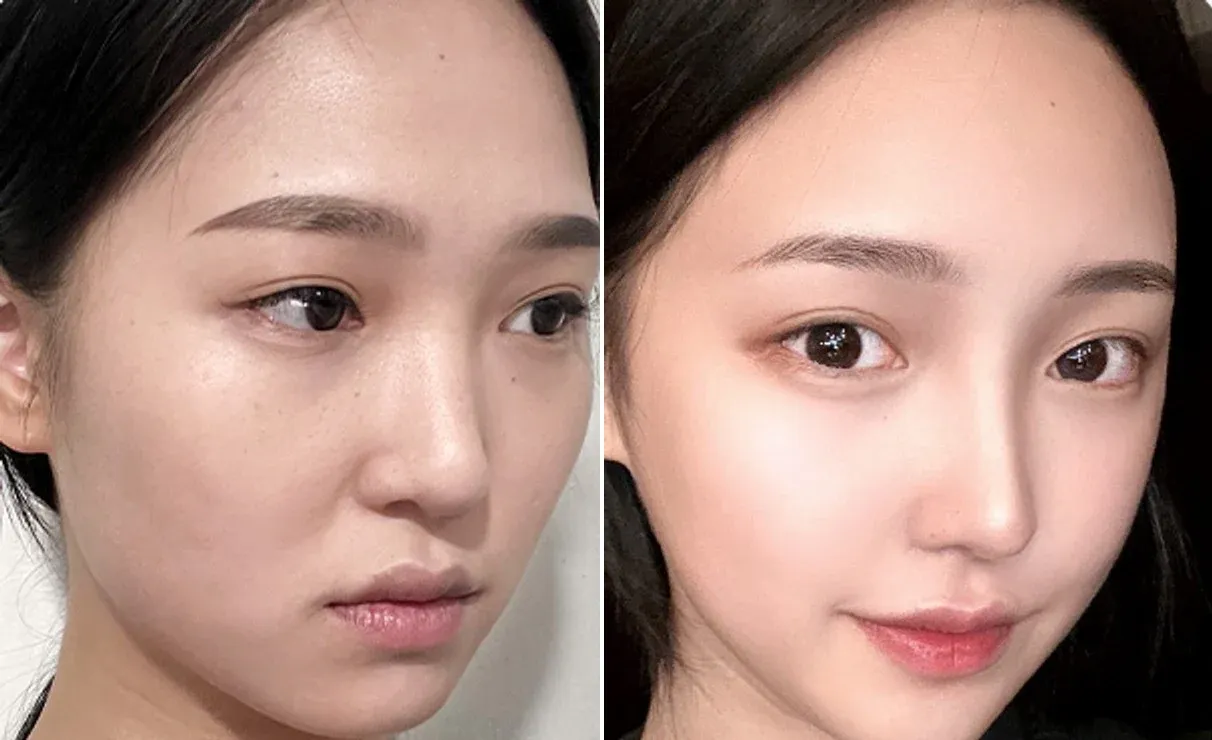
Before surgery → 2 months after surgery
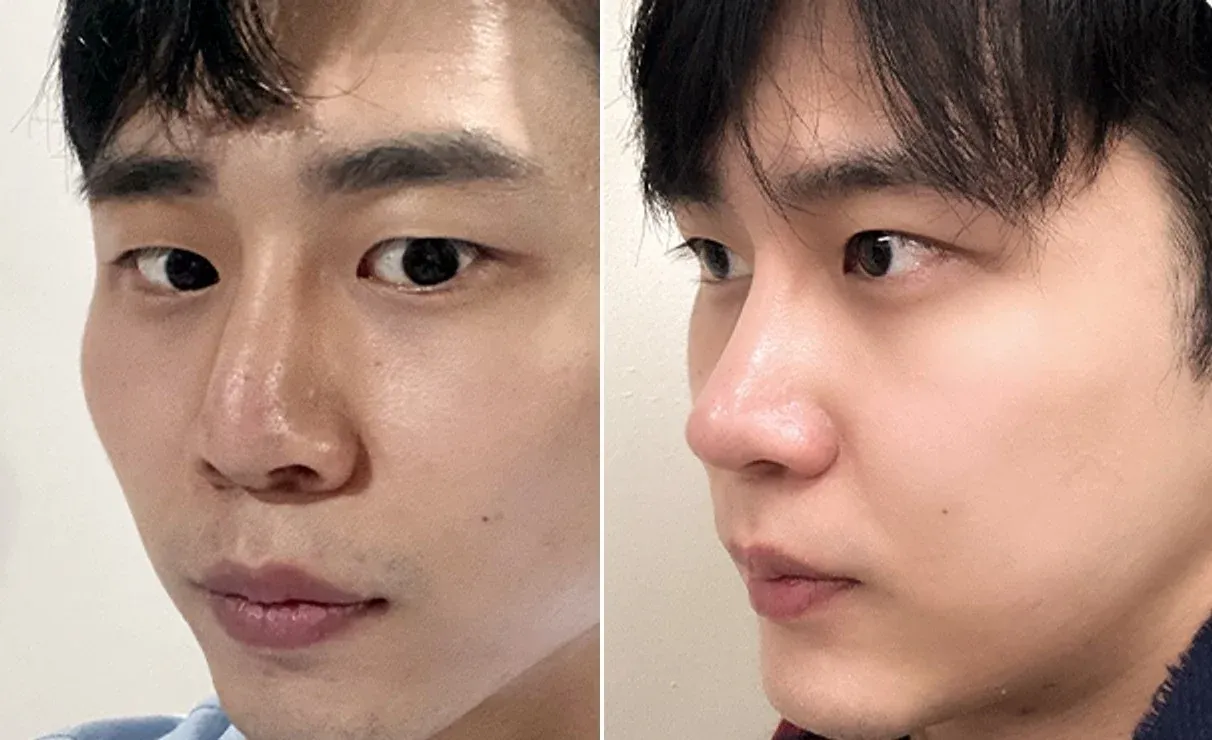
Before surgery → 5 months after surgery
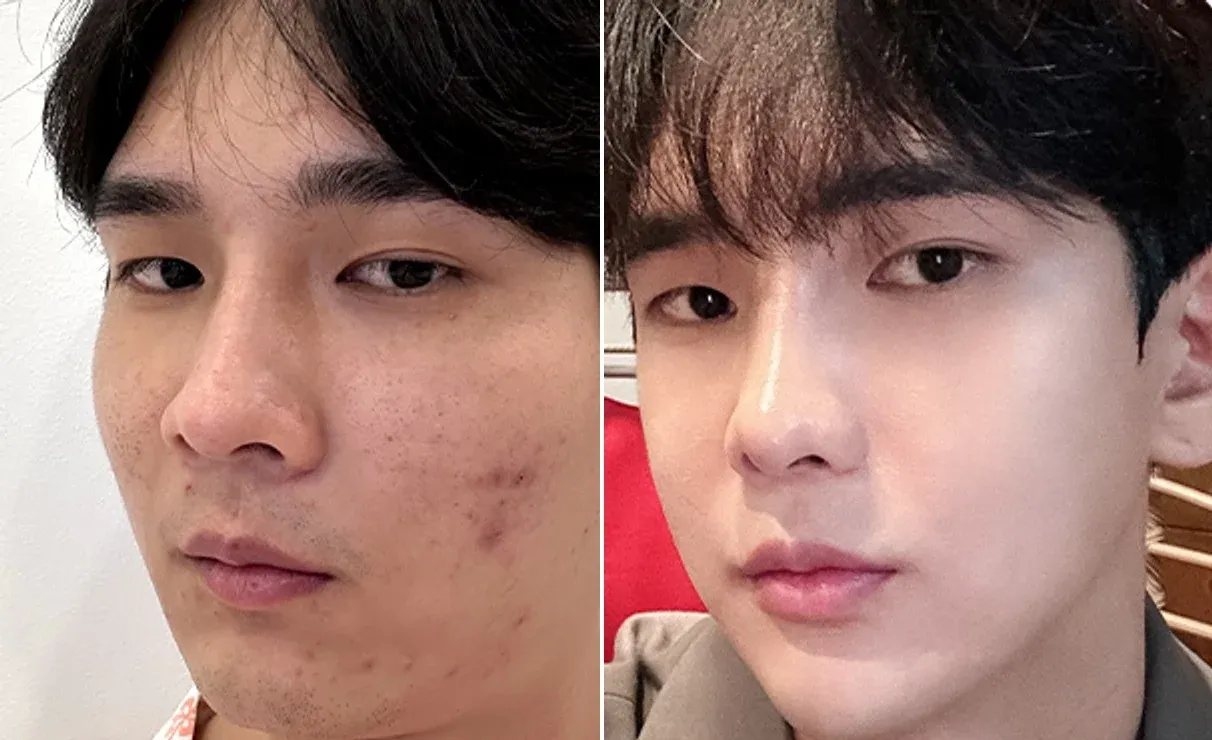
Before surgery → 5 months after surgery
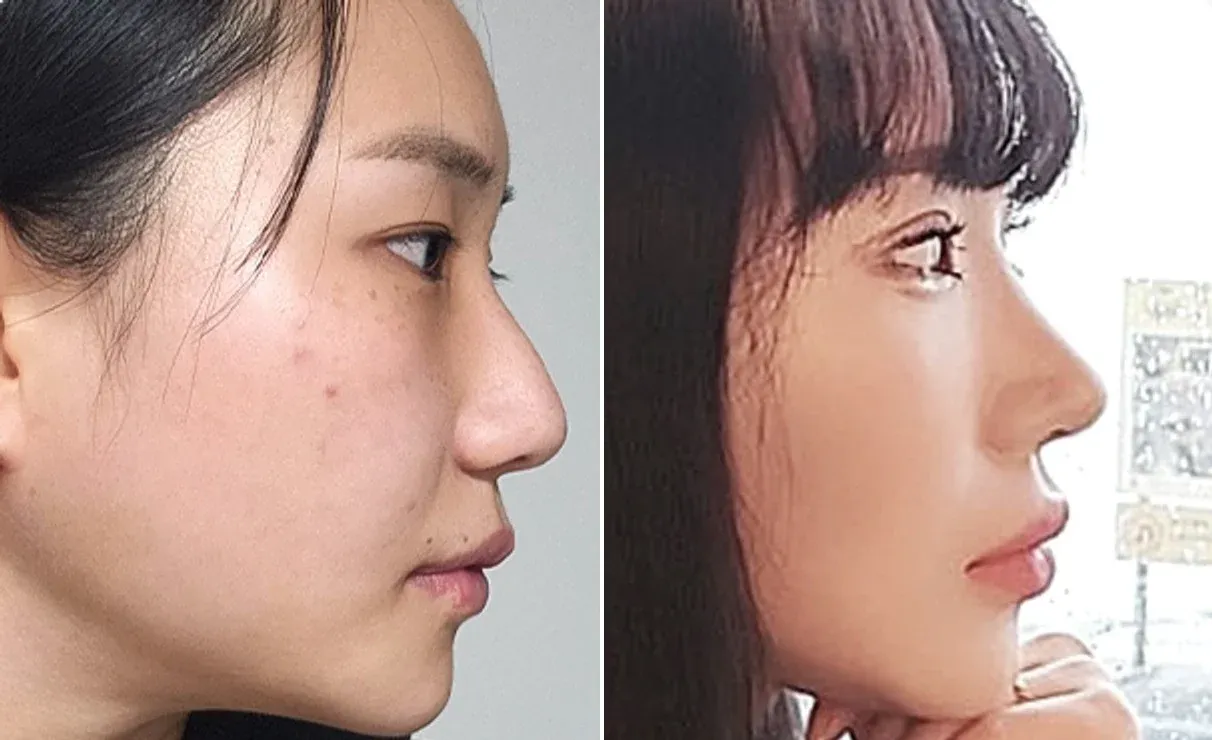
Before surgery → 1 month after surgery
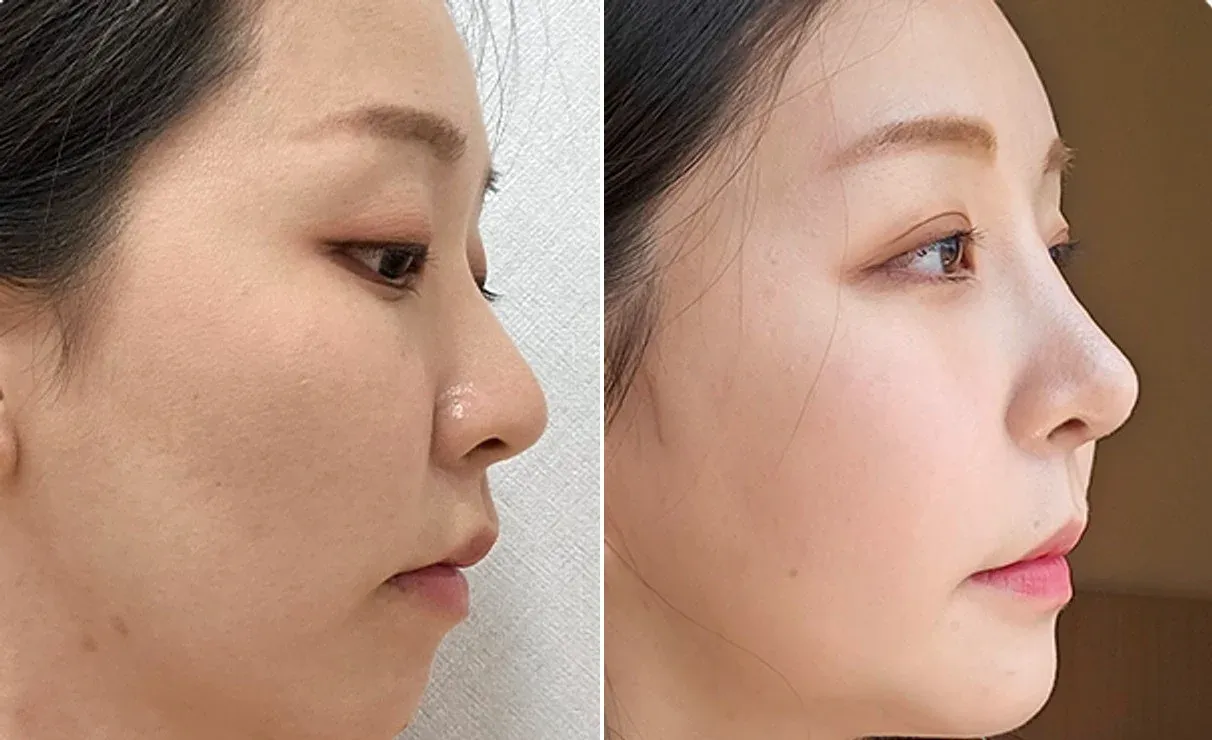
Before surgery → 1 month after surgery
Surgery Information
| Surgery time: 1–2 hours | Anesthesia: Sedation anesthesia | Hospitalization: None | Suture removal: 7 days after surgery | Follow-up visits: Approximately 2 visits | Return to daily activities: After 5–7 days
Please Note
The before-and-after photos were taken and posted with the patient's consent. Surgical results and recovery periods may vary depending on individual circumstances, and the surgical method is determined through consultation with a specialist.
 VIEW PLASTIC SURGERY